
Have an issue with how code is displayed in a WordPress post? Then no need to worry because Crayon Syntax Highlighter, written by akarmenia, is for you. Crayon makes is extremely easy to insert code into your posts. Not only that, but the plugin boasts a large number of features and options to choose from. Let’s take a look at how to install the plugin, how to use it and some of the choices that it offers.
Features
- Theme Editor
- Tag Editor
- Line numbers
- Copy/paste code
Step 1: Download, Install, Activate
You can download the plugin from the WordPress Plugin Directory here. Afterwards, you will need to upload the file using an FTP program, or you can install it via the Admin Dashboard. Afterwards, you will need to activate the plugin in order to use it on your site.
Step 2: Settings
To view the settings, you will need to click on the ‘Settings’ menu item that can be found on the left side of the page:
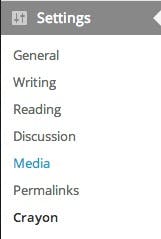
Click on ‘Crayon’
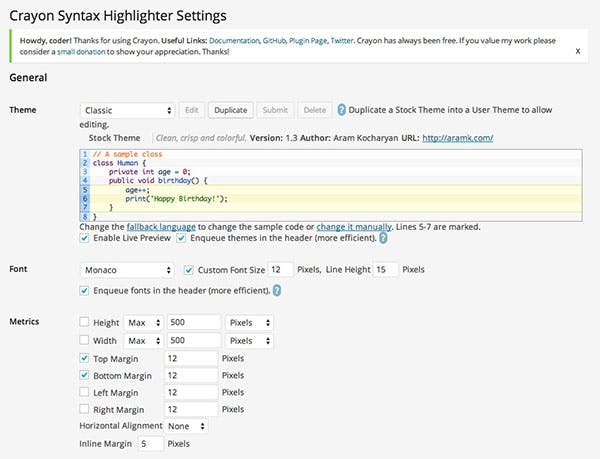
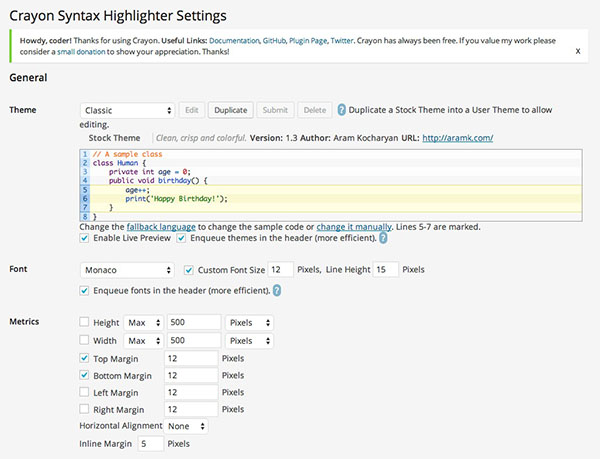
Let’s take a look at the options that we have available to us:
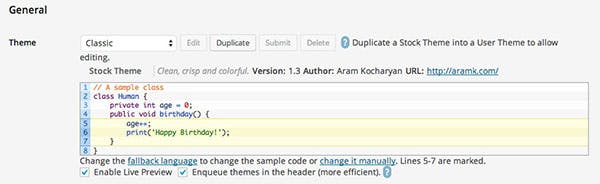
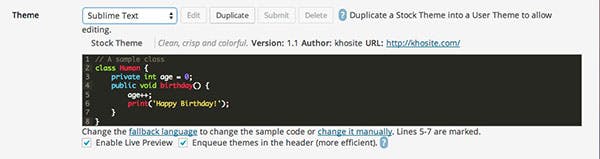
Theme
There are many themes available and you can set the default using the dropdown box titled ‘Theme’:
For example, you can change it to the familiar Sublime Text theme:
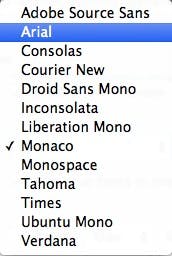
Font
You can also change the default font:

You can choose from the following fonts:
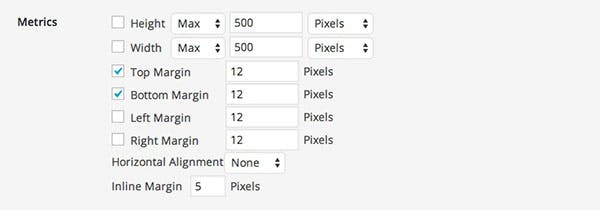
Metrics
The Metrics Panel allows you to change the styling of the container. You can change the margin or the size of the code box.
Toolbar
You can change the toolbar settings here:
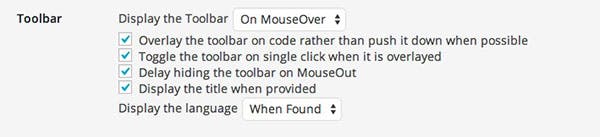
What is the toolbar? The toolbar appears when you hover over a code block:

You can choose to hide the toolbar with the ‘Display the Toolbar’ dropdown box.
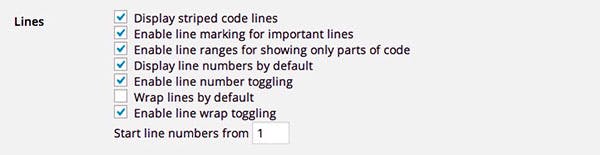
Lines
You can change line options here:
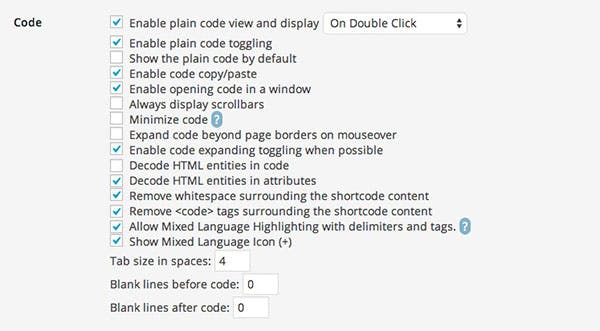
Code
You can change the code settings here. For example, you can even minimize the code if you wish!
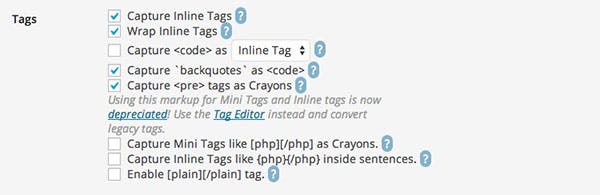
Tags
You can change the code tags and even enable shortcode-like tags:
Languages
You can change the default fallback language here.

Here’s an example of some of the languages available:

Files
You can load local and relative files inot your website

Posts
You can view posts that have Crayon Code Blocks in them by clicking the ‘Show Crayon Posts’ button:

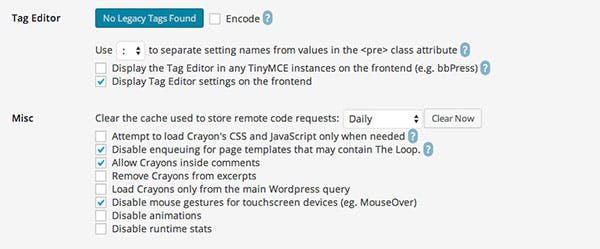
Tag Editor and Miscellaneous
You can cange the tag editor and other miscellaneous options here:
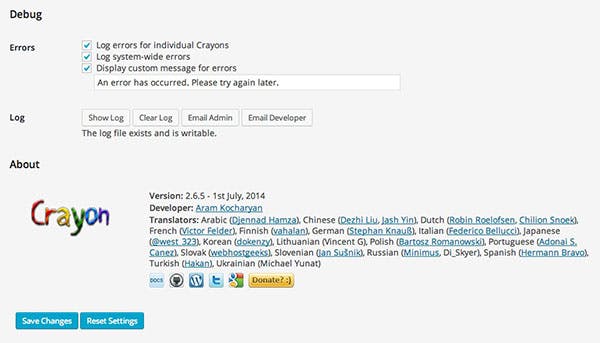
Debug
You can use the following debug options here:
Step 3: In your Post Editor
When editing your post, you can click the Crayon Syntax Highlighter button in your toolbar:
![]()
The following popup window will appear:
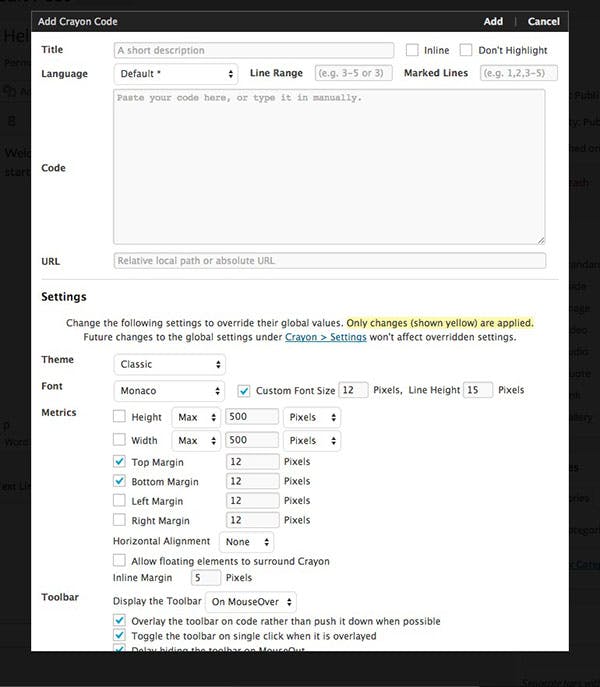
There are many options from the settings section shown earlier. Here’s an example of some of the options that I chose and some PHP code:
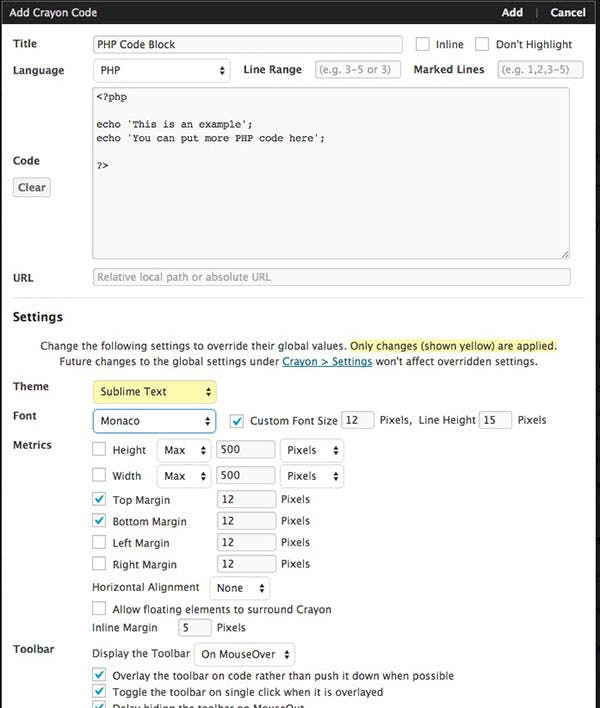
Finally, all you need to do is click on the Add button:

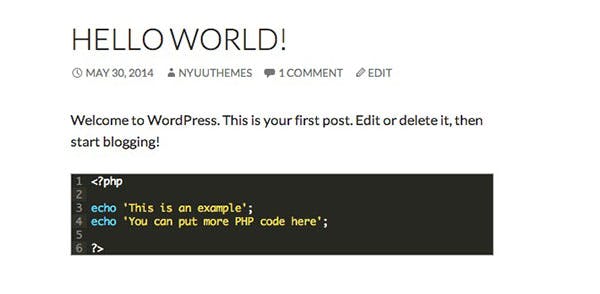
The code will now be inserted into your post:
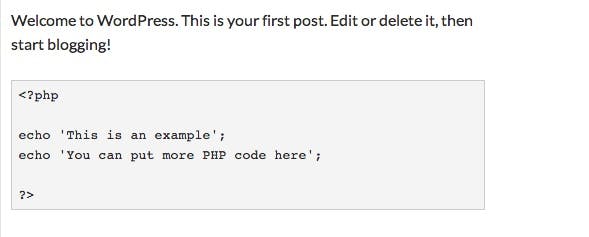
Click on the Publish button and you will now see the code block:
You have now configured and used Crayon Syntax Highlighter.
If you have any questions, please leave a comment below. Good luck!


