In the last post, we wrote a tutorial for installing and setting up a basic custom field using the Advanced Custom Fields plugin. This time, let’s learn about the Google Maps field type and how to integrate it onto your site. If you ever get lost, you can always find the documentation page here.
Step 1: Install and Activate Advanced Custom Fields
The first step is to make sure that Advanced Custom Fields plugin is installed and activated on your WordPress installation. If not, you can read our tutorial on installing Advanced Custom Fields here. Next, click on the Custom Fields admin button found on the left hand side of your screen.
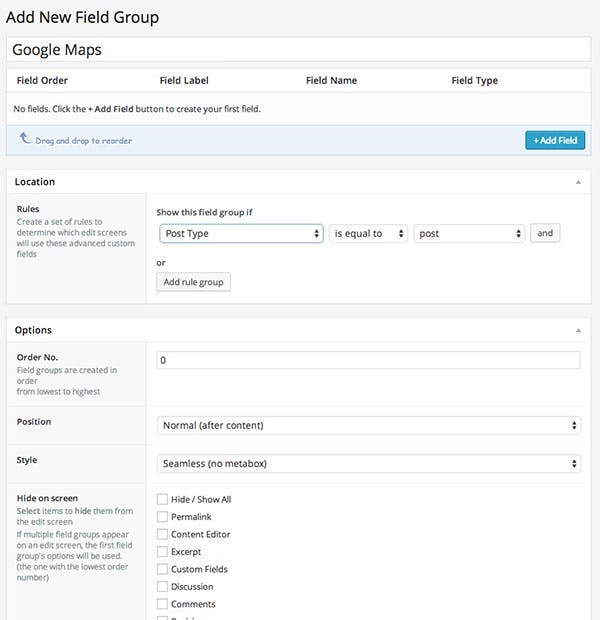
Let’s add a new group field and call it ‘Google Maps’:
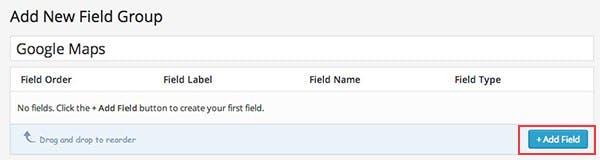
Click on ‘Add Field’:
Step 2: Install and Activate Advanced Custom Fields
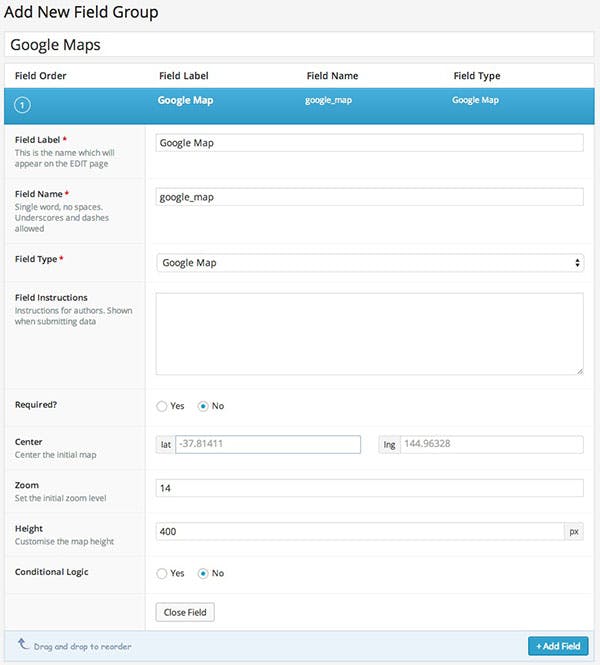
Let’s take a look at some of the options available to us when we create a Google Maps field:
- Center: This is where the map will center to, you can put in the latitude and longitude values. If you leave it blank, it will default to Melbourne, Australia.
- Zoom: This option will determine what the zoom level
- Height: Define the height that you want the Google Map to be
See below for some setting examples:
After that, click on the ‘Publish’ button found on the top right.
Step 3: Enter the Code
In order for the Google Map embed to work, you will need to enter the code into your page.php or single.php file. This code is required, so make that you have placed it in the appropriate file(s).
Please the following code at the top of your file.
<style type="text/css">

.acf-map {
width: 100%;
height: 400px;
border: #ccc solid 1px;
margin: 20px 0;
}
</style>
Next, enter the following code at the bottom of your file.
<script src="https://maps.googleapis.com/maps/api/js?v=3.exp&sensor=false"></script>
<script type="text/javascript">
(function($) {

/*
*  render_map
*
*  This function will render a Google Map onto the selected jQuery element
*
*  @type	function
*  @date	8/11/2013
*  @since	4.3.0
*
*  @param	$el (jQuery element)
*  @return	n/a
*/

function render_map( $el ) {

	// var
	var $markers = $el.find('.marker');

	// vars
	var args = {
		zoom		: 16,
		center		: new google.maps.LatLng(0, 0),
		mapTypeId	: google.maps.MapTypeId.ROADMAP
	};

	// create map
	var map = new google.maps.Map( $el[0], args);

	// add a markers reference
	map.markers = [];

	// add markers
	$markers.each(function(){

    	add_marker( $(this), map );

	});

	// center map
	center_map( map );

}

/*
*  add_marker
*
*  This function will add a marker to the selected Google Map
*
*  @type	function
*  @date	8/11/2013
*  @since	4.3.0
*
*  @param	$marker (jQuery element)
*  @param	map (Google Map object)
*  @return	n/a
*/

function add_marker( $marker, map ) {

	// var
	var latlng = new google.maps.LatLng( $marker.attr('data-lat'), $marker.attr('data-lng') );

	// create marker
	var marker = new google.maps.Marker({
		position	: latlng,
		map			: map
	});

	// add to array
	map.markers.push( marker );

	// if marker contains HTML, add it to an infoWindow
	if( $marker.html() )
	{
		// create info window
		var infowindow = new google.maps.InfoWindow({
			content		: $marker.html()
		});

		// show info window when marker is clicked
		google.maps.event.addListener(marker, 'click', function() {

			infowindow.open( map, marker );

		});
	}

}

/*
*  center_map
*
*  This function will center the map, showing all markers attached to this map
*
*  @type	function
*  @date	8/11/2013
*  @since	4.3.0
*
*  @param	map (Google Map object)
*  @return	n/a
*/

function center_map( map ) {

	// vars
	var bounds = new google.maps.LatLngBounds();

	// loop through all markers and create bounds
	$.each( map.markers, function( i, marker ){

		var latlng = new google.maps.LatLng( marker.position.lat(), marker.position.lng() );

		bounds.extend( latlng );

	});

	// only 1 marker?
	if( map.markers.length == 1 )
	{
		// set center of map
	    map.setCenter( bounds.getCenter() );
	    map.setZoom( 16 );
	}
	else
	{
		// fit to bounds
		map.fitBounds( bounds );
	}

}

/*
*  document ready
*
*  This function will render each map when the document is ready (page has loaded)
*
*  @type	function
*  @date	8/11/2013
*  @since	5.0.0
*
*  @param	n/a
*  @return	n/a
*/

$(document).ready(function(){

	$('.acf-map').each(function(){

		render_map( $(this) );

	});

});

})(jQuery);
</script>
Finally, enter the following code into the loop or content of your post/page;
<?php

$location = get_field('location');

if( !empty($location) ):
?>
<div class="acf-map">
	<div class="marker" data-lat="<?php echo $location['lat']; ?>" data-lng="<?php echo $location['lng']; ?>"></div>
</div>
<?php endif; ?>
Make sure to re-upload or update your file.
Step 4: Location, Location, Location
When you edit or create a new post, you should be able to see a new field with a Google Map as shown below. You can enter an address into a field if you need a marker to be set.
All you need to do is publish your post and the field will now show!
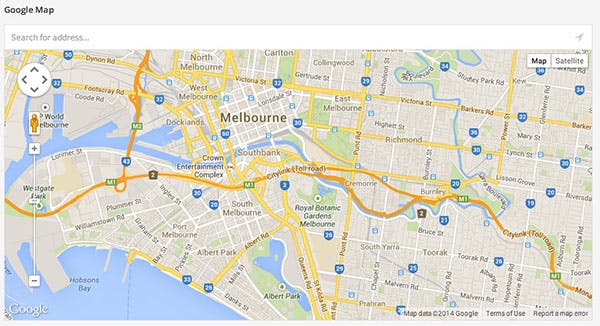
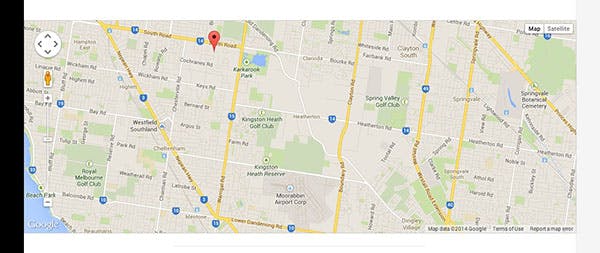
Step 5: Finished!
With the Google map embedded, your post should look something like this: