
Advanced Custom Fields, believe it or not, has several addons that you can install to improve ACF’s functionality. Today, let’s take a look at the Repeater premium addon for Advanced Custom Fields. Advanced Custom Fields: Repeater was written by Elliot Condon and costs $25 AUD.
You can take a look at the different addons available here. Click here to take read some more about the Repeater Addon.
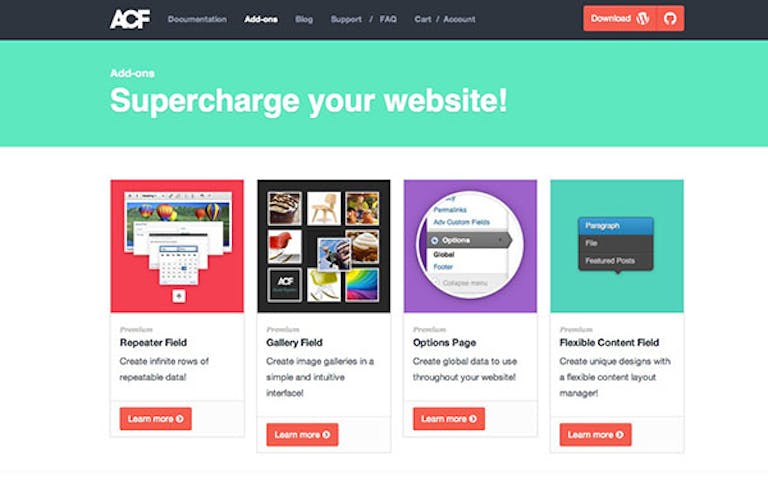
Step 1: Buy and Install
The first step, if you would like to use Repeater fields, is to purchase the plugin and install/activate it on your WordPress site:

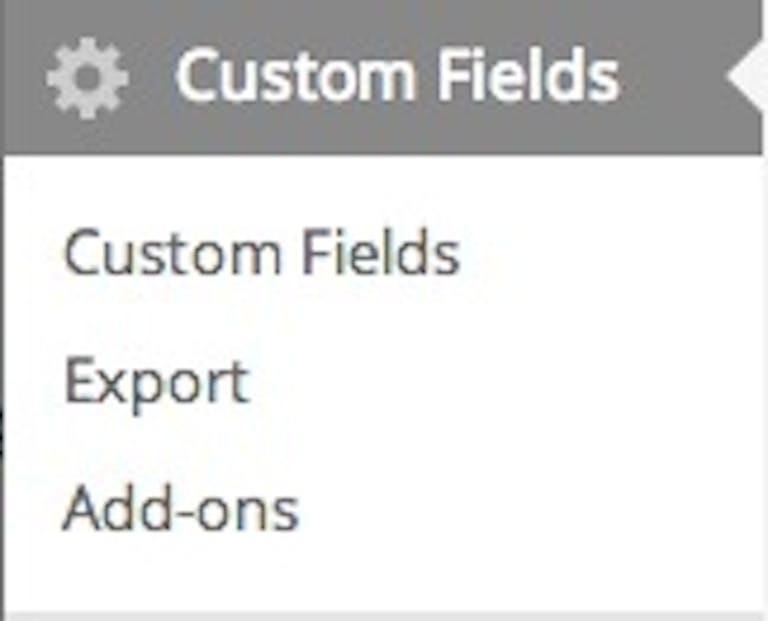
Step 2: Creating the Field
The next step is to create a custom field. You can do this by clicking on the Custom Fields item found in the admin bar:
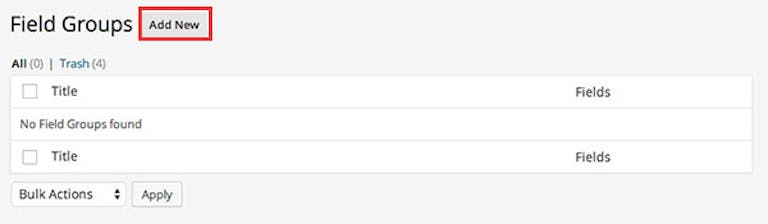
You should now be able to see this screen. Click on the Add New button to create a new Field Group:
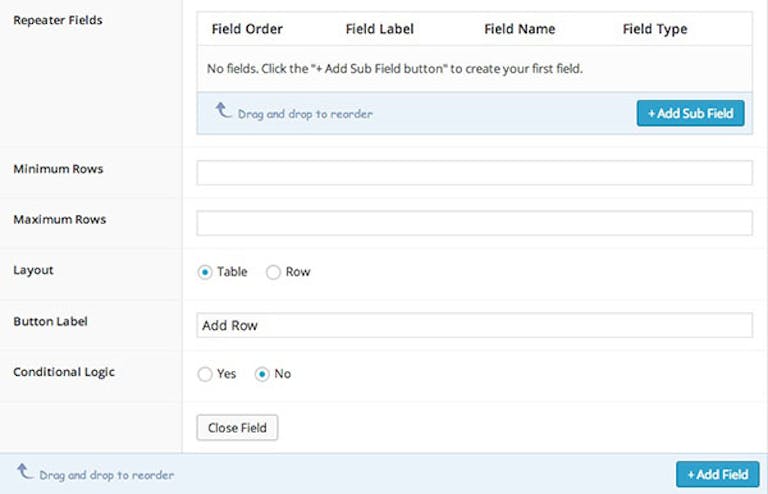
Make sure that the Repeater Field Type is selected! Here’s an example:
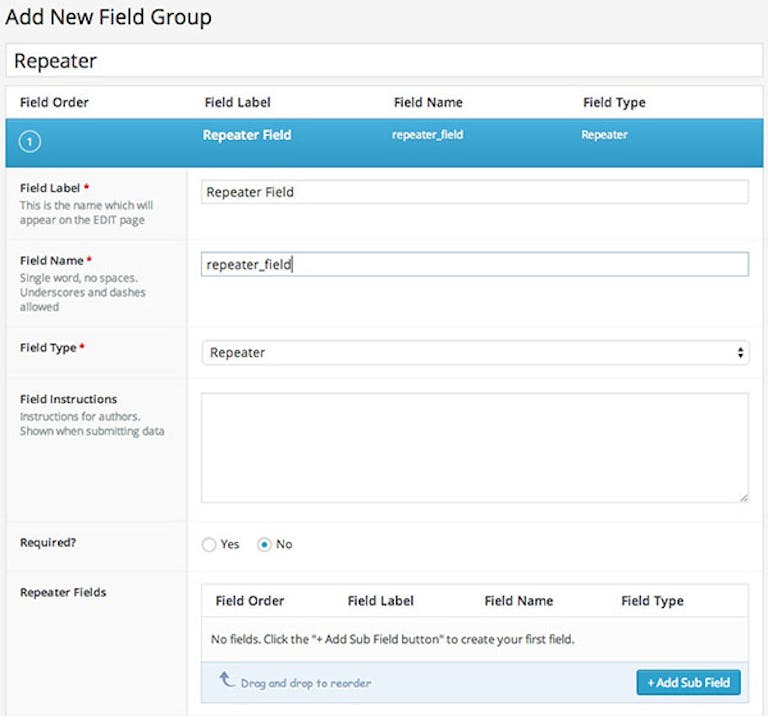
As you can see in the image below, Repeater is, without a doubt, a powerful addon. You can set a limit on the number or rows with the “Minimum Rows” and “Maximum Rows” fields. The Button Label field allows you to change the label of the ‘Add Row’ button.
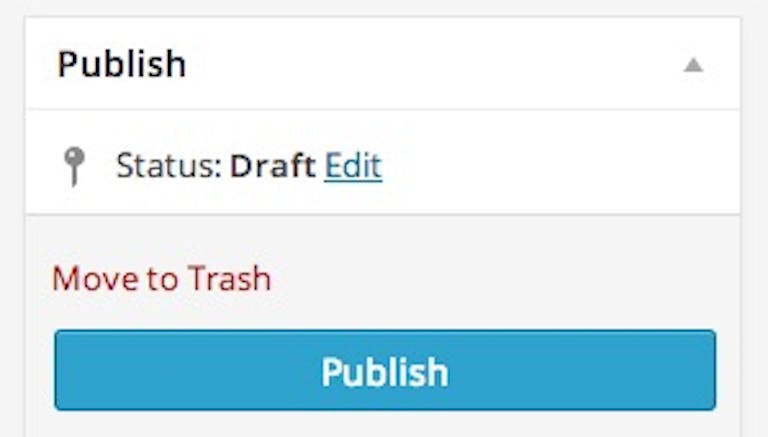
Now all you have to do is click on the publish button, found on the right side:
Step 3: Adding the code
You will need to add the following code in single.php or page.php file.
<?php

// check if the repeater field has rows of data
if( have_rows('repeater_field') ):

 	// loop through the rows of data
    while ( have_rows('repeater_field') ) : the_row();

        // display a sub field value
        the_sub_field('sub_field_name');

    endwhile;

else :

    // no rows found

endif;

?>
Step 4: In Your Post Editor
You should now be able to see the repeater field in your post editor, like this:
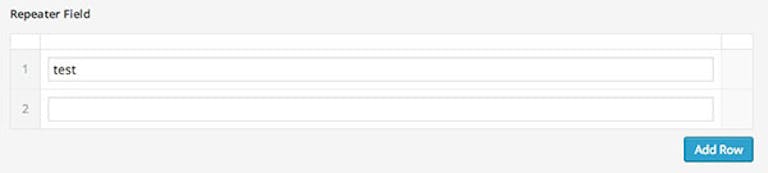
Just click on the ‘Add Row’ button to keep adding fields! After publishing your post, you should now be able to see the new fields.
If you have any questions, feel free to leave a comment below.
Video Tutorial
If you would prefer video tutorials: