Making your own custom Vagrant server with PHP can be tough, but with PuPHPet, it won’t be. PuPHPet, pronounced puppet, is a website in which you can create your own Vagrant PHP virtual server easily. In this post, let’s create a Vagrant server configuration with PuPHPet.
Let’s set up a Vagrant server with CentOS, NGINX, MySQL and PHP.
Step 1: Deploy Target
You can begin by clicking here.
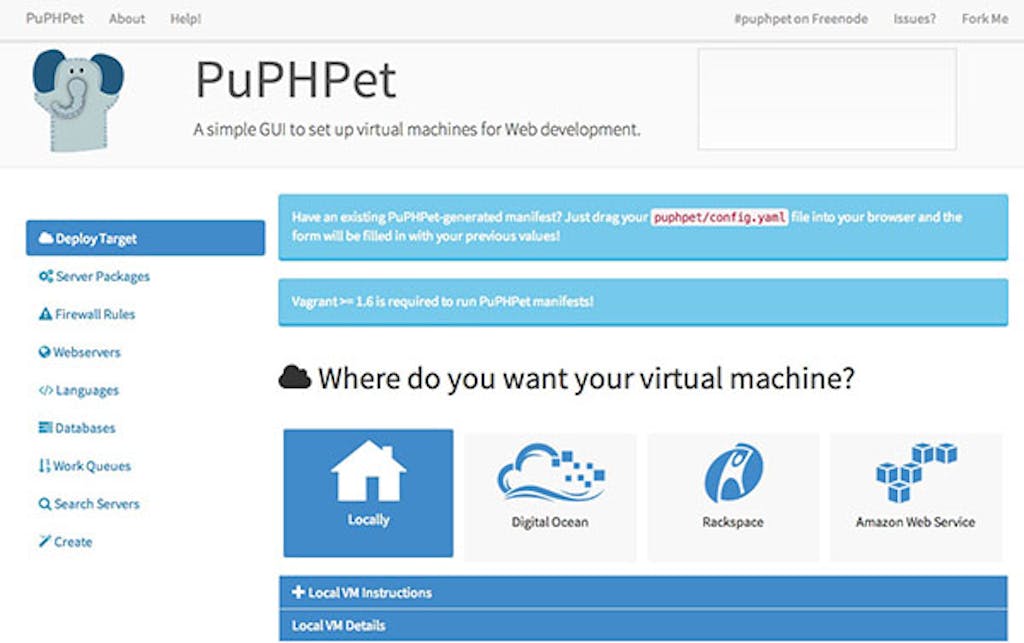

The next step is to choose where your virtual machine will be hosted:
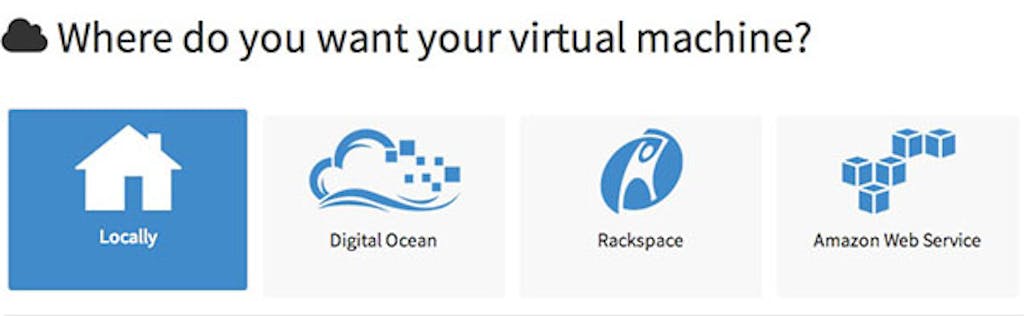

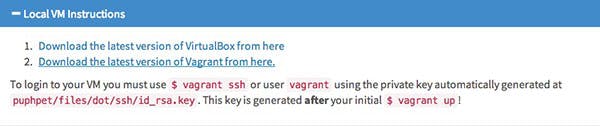
There are several options here. You can choose to store your virtual machine on your own computer (Locally) or on Digital Ocean, Rackspace, or Amazon Web Service. You can see additional instructions for installing your virtual machine locally below. Let’s click on Locally.

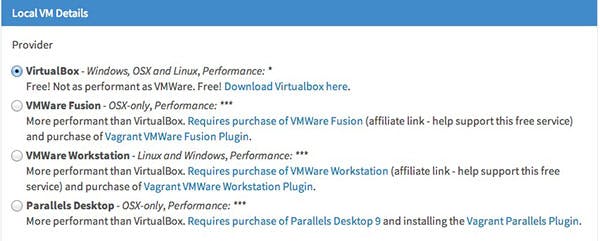
If you are going to run your server locally, you will need to choose the virtual machine that you will use to run Vagrant with. Let’s go with VirtualBox.

Afterwards, click on CentOS x64, the rest can left alone:


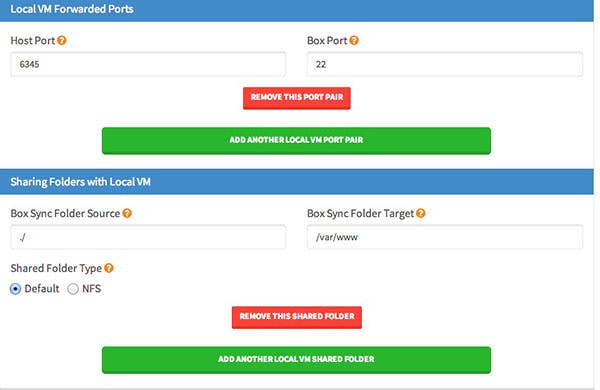
The rest can be left alone, but if you advanced enough, you can play with the settings below:

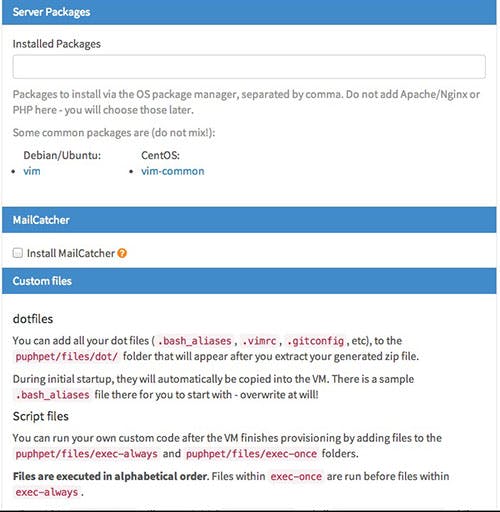
Step 2: Sever Packages
If you would like to install some packages on your virtual server, you can do so here. Otherwise, you can skip this step completely:

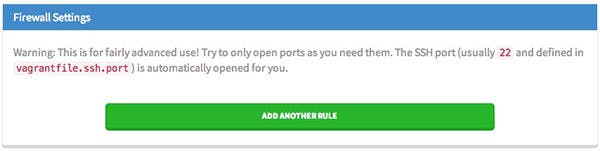
Step 3: Firewall Settings
This step should only be configured by advanced users, unless you are feeling brave:

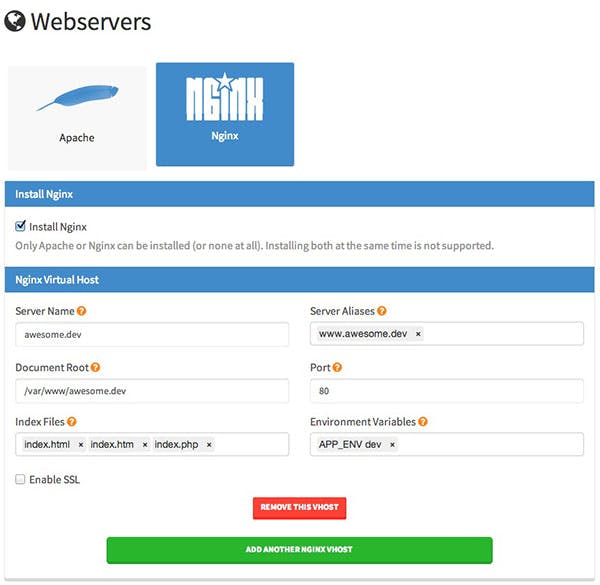
Step 4: Webservers
You can choose to have your sever install Apache or NGINX. For this tutorial, let’s choose NGINX. You can configure the other settings below to your desire. You can, for example, change the server name of your machine. You can even change the document root or folder. Make sure that ‘Install NGINX’ is checked.

Step 5: Languages
You can select which PHP Engine that you would like to install below. Let’s select PHP and make sure that 5.5, the latest version, is selected. You can also change the PHP TImezone below.
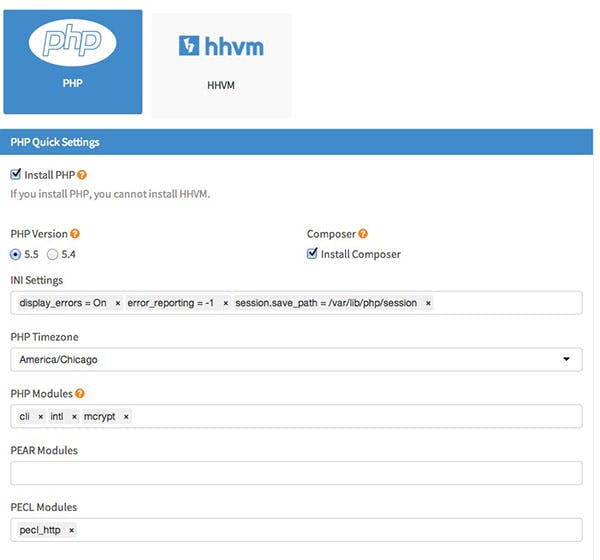

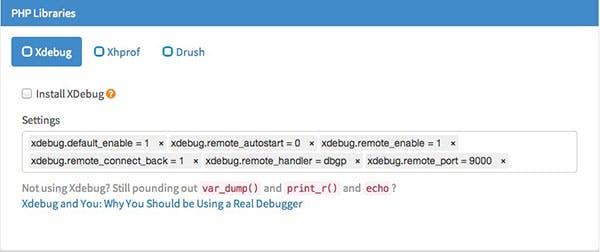
If necessary, you can install some PHP libraries:

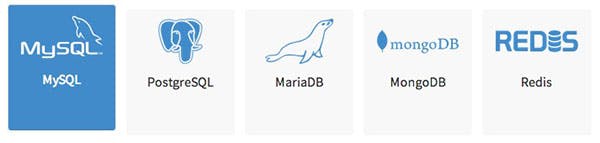
Step 6: Databases
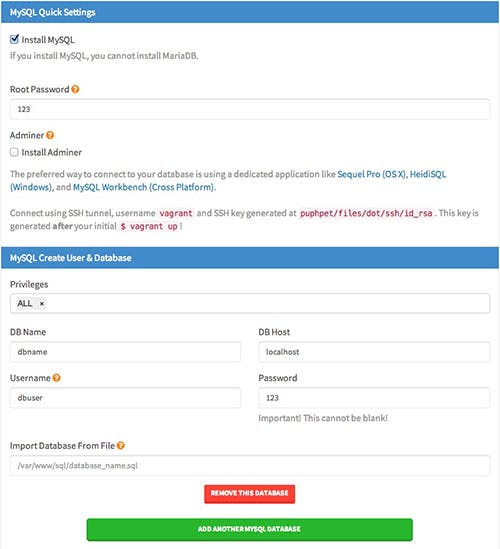
You can choose from a variety of databases but let’s stick with MySQL:

You will now be able to customise your SQL database, like setting the database name, username and password. You can even add another SQL database if you wish.

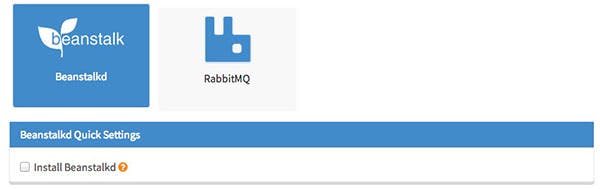
Step 7: Work Queues
You can choose a Work Queue below. You can skip this step if you don’t need one.

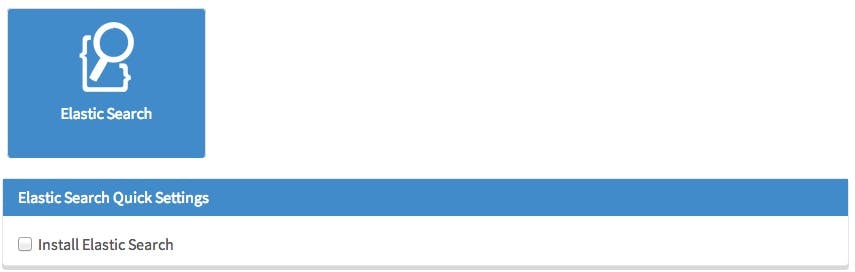
Step 8: Work Queues
If you need a real-time search engine installed on your virtual server, you can have Elastic Search installed.

Step 9: Make It
Finally, just click on the big blue button to make your file.


Step 10: Unzip and Enjoy


- The next step is to unzip your folder
- Rename your unzipped folder
- Start the Terminal app
- Change into the folder using ‘cd xo5wrb’
- Run vagrant up
Step 11: Accessing your PHP folder
After Terminal has finished provisioning the folder. You can access your server by typing; 192.168.56.101 into your address bar. If the above mentioned does not work, you will need to find the IP address in the config.yaml folder.
You should now have a PHP server up and running thanks to PuPHPet. As always, if you have any questions, please leave a comment below.