Ever wanted to have special fields added to your posts? ACF, or Advanced Custom Fields, is a plugin created by Elliot Condon that gives you the ability to add custom fields to your posts. These fields, after publishing your post, will display the information that you inserted into your custom field. For example, you can have a custom text field that shows users your mood while writing your post. It may also be one of the most popular WordPress plugins to date. You can read the documentation by clicking here. Let’s get started!
Features
- Visually create your Fields
- Select from multiple input types (text, textarea, wysiwyg, image, file, page link, post object, relationship, select, checkbox, radio buttons, date picker, true / false, repeater, flexible content, gallery and more to come!)
- Assign your fields to multiple edit pages (via custom location rules)
- Easily load data through a simple and friendly API
- Uses the native WordPress custom post type for ease of use and fast processing
- Uses the native WordPress metadata for ease of use and fast processing
Step 1: Download and Install
You can install Advanced Custom Fields in two ways: Dashboard Install:
- Click on Plugins
- Click on Add New
- In the search bar, type ‘Advanced Custom Fields’
- Click on Install Now
- Click on OK
- Click on Activate Plugin on the new page
Manual Install:
- Download the plugin here
- Unzip the zip file
- Copy the plugin into your /wp-content/plugins directory
- Click on Plugins
- Click on Active under ‘Advanced Custom Fields
Step 2: Creating Custom Fields
After activating the plugin, you will see this:
Let’s click on Custom Fields. You should see this screen:
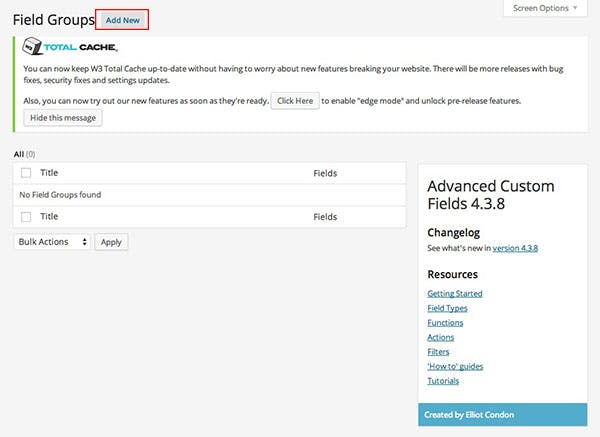
Click on Add New at the top. Enter a new field into the field marked in red:
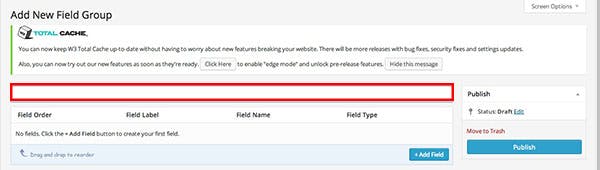
Let’s use ‘tutorial’ as an example. Afterwards, click on the Add Field button.

Take a look at the options below:
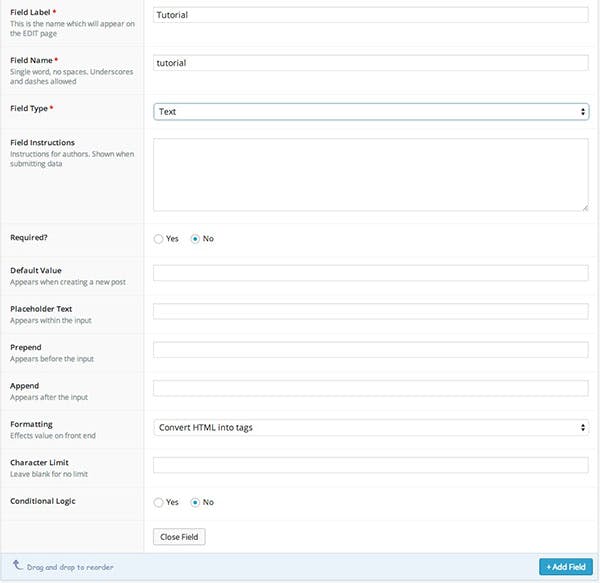
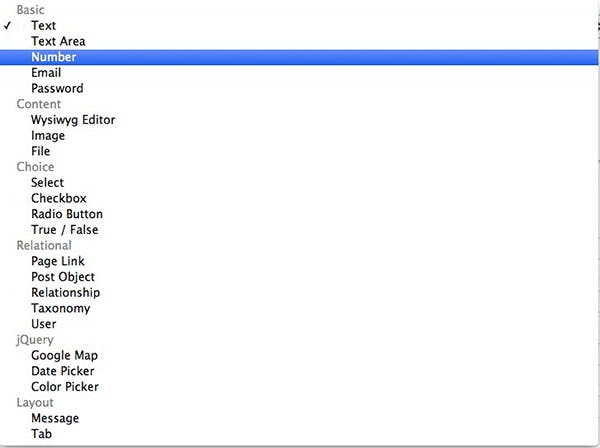
There are three required fields, ‘Field Label’, ‘Field Name’ and ‘Field Type’. The ‘Field Label’ field is shown when you are editing your post. For example, if you are writing a post, the word ‘Tutorial’ will show up. The ‘Field Name’ is the name that Advanced Custom Field uses to grab the data within this field. Finally, the Field Type, is the type of data that will be stored and displayed. It can be a text, an image, or a video. Here’s the Field Types supported by ACF:
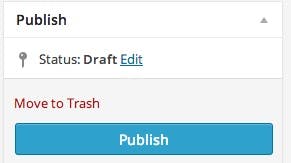
Let’s click on the ‘Publish’ button:
Step 3: Adding the Code
You have now created your custom field! Let’s display it on a blog page. To display the information in your post, just add the following line into the WordPress Loop:
<p><?php the_field('tutorial'); ?></p>
or
echo get_field('tutorial');
You can find code examples here. After saving your file, let’s take a look at the Edit Post screen:

(Hint: the field is located towards the bottom of the screen)
If you have typed in ‘this is a test for a tutorial’, after publishing, you should see this:
![]()

If so, you have just added a custom field to your post! Great job! As always, if you have any questions, feel free to leave a comment below.