Let’s say that you have a website but what if you wanted a date and time picker to show events or announcements? Thankfully, Advanced Custom Fields has an addon just for that purpose.
Step 1: Install and Activate the Addon
The first step is to install and activate the plugin. You can download the plugin here. You can then use an FTP program to upload the unizpped folder to your /wp-content/plugins directory.
Step 2: Creating the Field
Let’s create a date and time picker field! There should be a Custom Fields button in your admin bar:

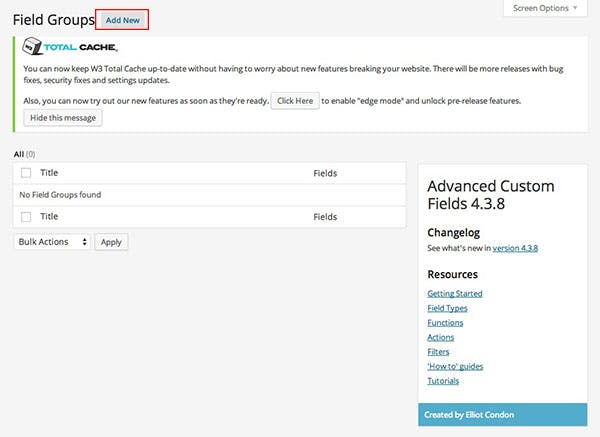
Click on the Custom Fields button and you should be able to see the Field Groups screen. Click on the Add New button:

You will need to enter a new in order to add a new Field Group:
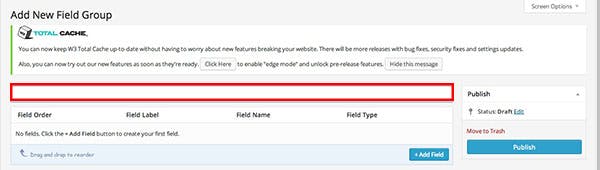

Then click on the Add Field button create a new field and select the options below:
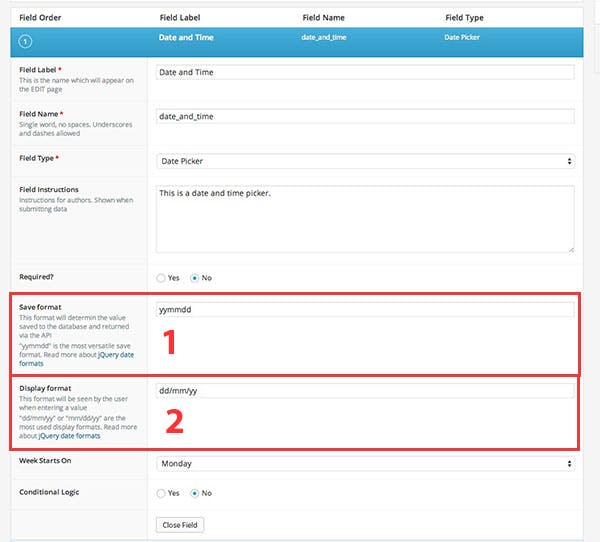

- Database Format: You can define the format for the date and time that will be saved to the database
- Display Format: This is how the date will be shown on your blog post / page.
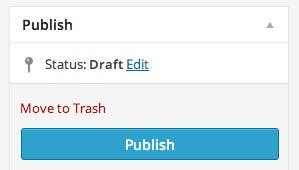
After you have defined your options, just click on the Publish button to save the new field:

In Your Post
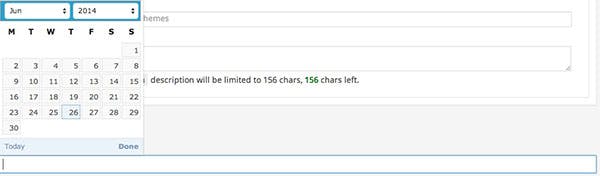
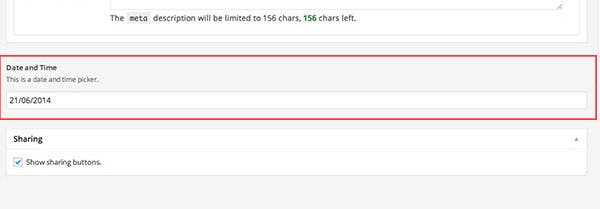
In your post editor, if you scroll down, you should now be able to see a new field. Just click on the new field and a calendar should appear.


The Code
The last step is to add the code to your single.php and/or page.php template files. All you will need to do is add this to the loop:
<?php the_field('date_and_time'); ?>
You can also use:
<?php echo get_field('date_and_time'); ?>
The date/time should now be displayed on the blog page like this:
![]()
