Let’s take a look at another interesting addon for Advanced Custom Fields, the Text Limiter authored by Atomicsmash. The purpose of the addon is to limit the amount of characters that can be entered into a textbox. The addon includes a jQuery UI component that shows the user how many characters are left. You might want to use this plugin in a contact form or if you run a social network using BuddyPress.
Step 1: Install and Activate the Addon
The first step is to install and activate the plugin. You can download the plugin here. You can then use an FTP program to upload the unizpped folder to your /wp-content/plugins directory.
Step 2: Creating the Field
Let’s create a text limiter field! There should be a Custom Fields button in your admin bar:

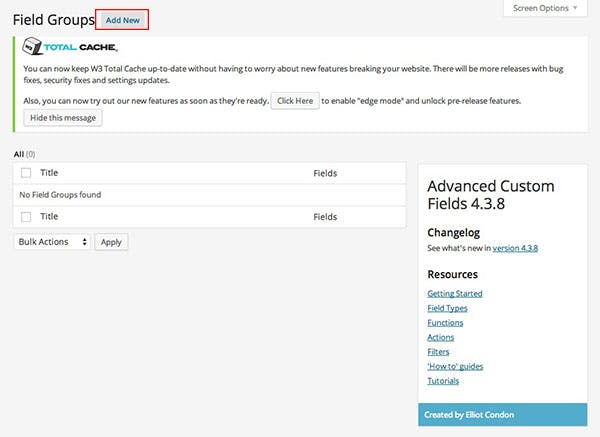
Click on the Custom Fields button and you should be able to see the Field Groups screen. Click on the Add New button:

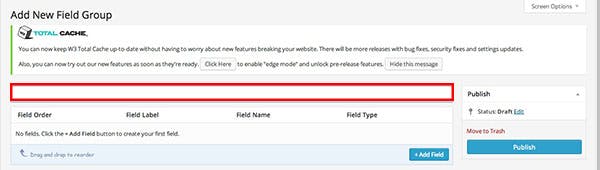
You will need to enter a new in order to add a new Field Group:

Then click on the Add Field button create a new field and select the options below:
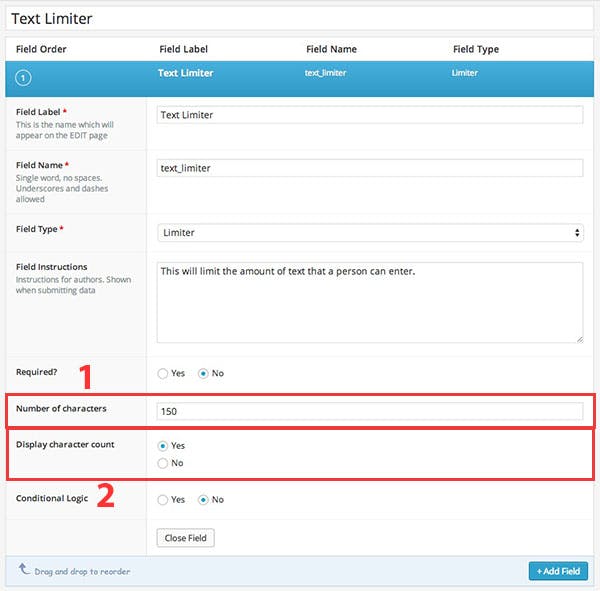

- In this text box, you can limit the amount of characters allowed in the text box
- You can whether to display the character count (jQuery UI)
-
Step 3: In Your Post
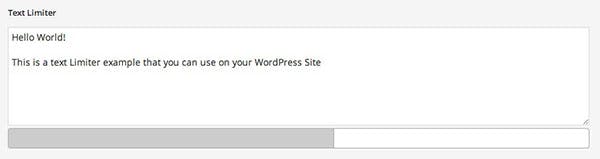
You should now be able to see a new box at the bottom of your Edit Post screen:

-
Step 4: In Your Code
The last step is to enter this code into your single.php and/or page.php file:
<?php the_field('text-limiter'); ?>
You could also use:
<?php echo get_field('text_limiter'); ?>
After uploading and posting the page, you should see the Text Box Limiter in your post. The text should appear on your site. If you have any questions, please leave a comment below.