
So, you would like to contribute to a plugin or theme but don’t know how? Long story short, there is a specific series of steps to accomplish this. This process is called localization, or i18n for short. The recommended approach is using the built-in gettext and WordPress functions; and the PoEdit program. Other programs include: GlotPress, Launchpad, Pottle, Lokalize and GNU Gettext. In this post, we will be using the PoEdit program.
I will guide you through the installation process and, afterwards, the steps necessary to begin contributing. Just for reference, you can find the documentation at the bottom of this post. Also, before you begin, the WordPress community asks that you should be truly bilingual before localizing someone else’s theme or plugin.
Before moving on, there are three types of files that you should be aware of when you are going to localize a theme/plugin:
- POT (Portable Object Template) files
This is the file used by the translation program (such as Poedit) to search through the plugin or theme and find the translatable text. You don’t have to create your own file because you can download a POT file for WordPress. However, if you have used the __() or the _e() functions in your theme or plugin, then you can generate your own file.
- PO (Portable Object) files
- This is the second file that needs to be created; the PO file is used by the translator to localize the plugin within the editing program.
- MO (Machine Object) files
The final file and step is when the PO file is read and turned into an optimized machine binary file called an MO file. This compiles the translation, from the PO file into binary code (e.g. 0010110). This amkes it much faster for the computer to retrieve the translations.
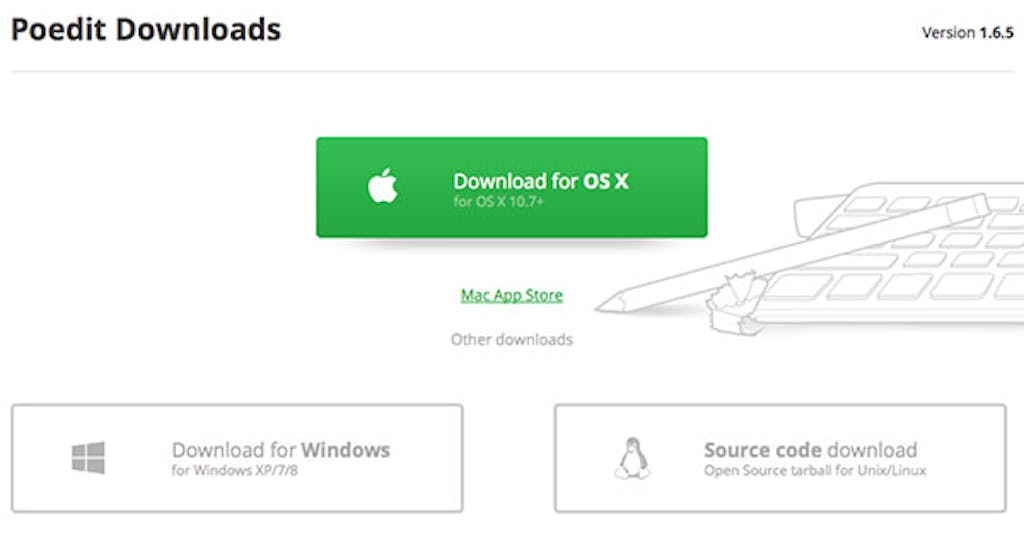
Step 1: Download Poedit
PoEdit comes in three different operating systems: Windows, OS X and Linux. Choose the approiate version and begin the download. Click to download.
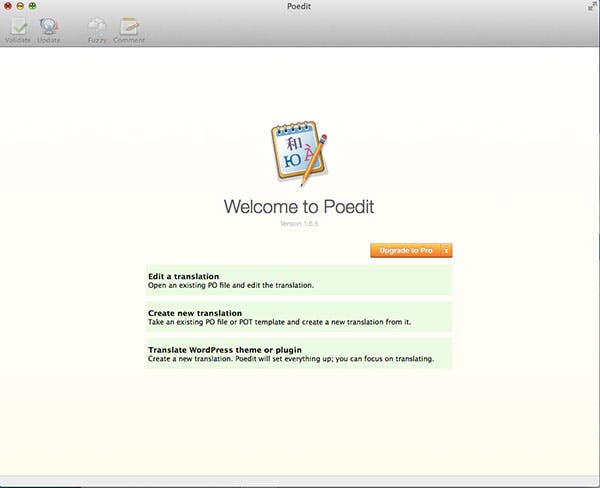
Step 2: Installation
After downloading PoEdit and unzipping the file, you should see this screen. At this point, there is nothing you really can do. For now, notice the three options: ‘Edit a translation’, ‘Create new translation’ and ‘Translate WordPress theme or plugin’.
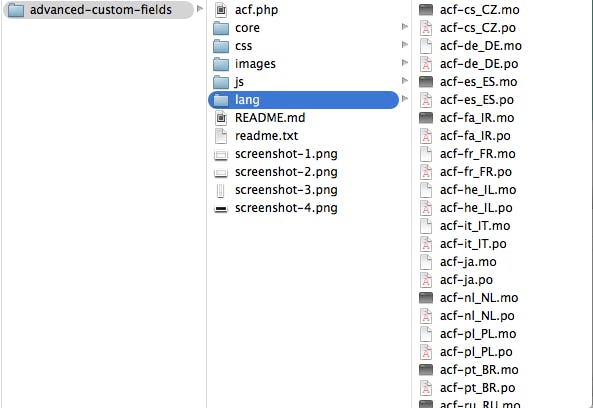
Step 3: Download the Plugin/Theme
The next step is to download and prepare the plugin or theme that you would like to translate.
Plugin
After downloading the plugin or theme, there should be a languages folder similar to the image below. Double-check to make sure there is one, otherwise, you may need to create your own folder inside the main directory, for organizational purposes. For example, in the Advanced Custom Fields Plugin, you can see the /lang/ directory inside the main folder.
Step 4: Open Poedit
After you have replaced all of your HTML/PHP code with the WordPress functions, it is time to open Poedit once more. Let’s go through this step-by-step.
- Click on ‘Edit a translation’
- Navigate to the language or lang folder
- Find the PO file that you would like to
- Click ‘OK’
You can now translate! After you are done, just click on File > Save. This should create an MO file.
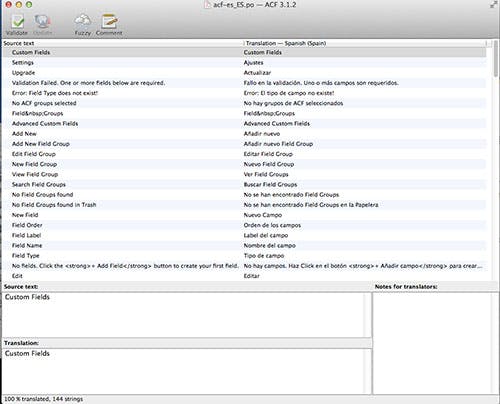
That’s it! Now all you have to do is click on the list item that you would like to translate and type into the fields below.