
Thanks to the WordPress community, the open-source blogging platform is extremely customisable. In fact, you can even create a networking site with one plugin. BuddyPress allows you to do just this; it is an incredibly powerful plugin with many powerful features right out of the box. The great thing about BuddyPress is that it is constantly maintained, optimised Let’s take a look at the features.
Features:
- WordPress Theme Compatibility
- bbPress Discussion Forums
- BuddyPress Widgets
- Member Profile Navigation Menu
- Member Toolbar Navigation Menu
- BuddyPress Repair Tools Admin Screen – new in BP 2.0
You can find the list here.
With that said, let’s jump right in!
Step 1: Download the Plugin
The first step is to download the plugin.
You can download, install and activate via WordPress. To accomplish this:
- Enter the Admin Dashboard
- Click on Plugins -> Add New
- Type ‘BuddyPress’ into the search bar
- Click Search Plugins
- Click on Install Now
- Click OK
- Click on ‘Activate Plugin’
Alternatively, you can download two different versions. The stable release, available in the WordPress Plugin Directory, or the alpha version the site. We recommend to download the stable unless you would like to test out any of the new features.
After downloading, you will need to unzip the ‘BuddyPress’ folder and upload via your chosen FTP program. The folder is located in the /wordpress/wp-content/plugins directory. Next, log into your WordPress site and activate your plugin in the Plugins menu.
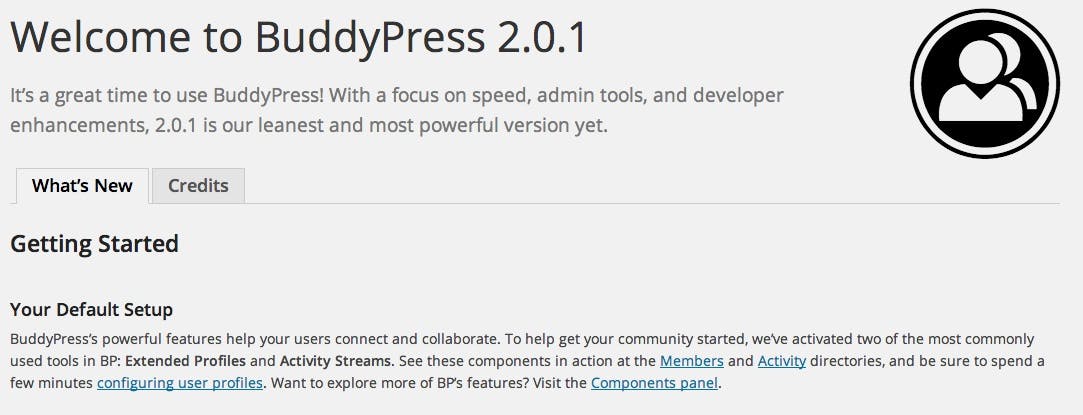
Steps 2: Activation
After activation, you will be presented with this screen.
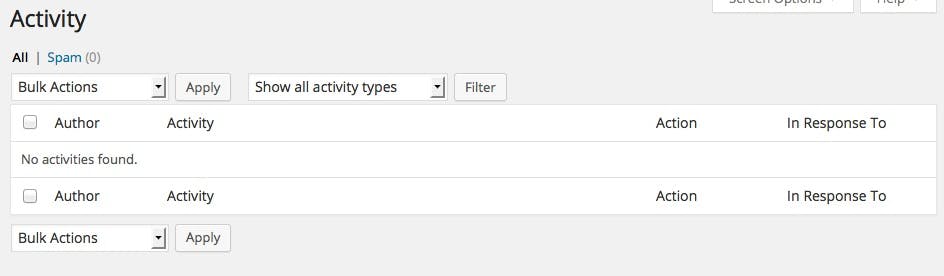
Step 3: Settings
The first thing that you will notice is the new Activity menu. On this page, you can view what users are uploading or saying on your website. BuddyPress also recently added a new feature in which you can mark some activity as spam.
![]()
Now that you have activated the plugin, you can change the settings. You can access the settings by going to Settings -> BuddyPress. You will see three tabs: Compenents, Pages and Settings.
Components
The first tab, Components, lists the different functions, or modules, that the BuddyPress plugin contains. You can choose to enable or disable by checking or unchecking the boxes. Extended Profiles, for example, adds customizable profiles for your users; on the other hand, Friend Connections allows your users to see what their friends are stating.

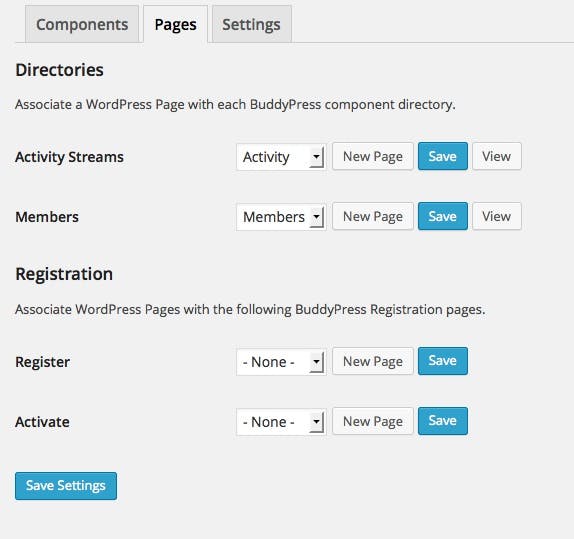
Pages
In this panel, you can create pages and integrate them with BuddyPress. Sadly, we cannot go into great detail on how to use this feature/setting. However, the BuddyPress Codex, is a great resource.
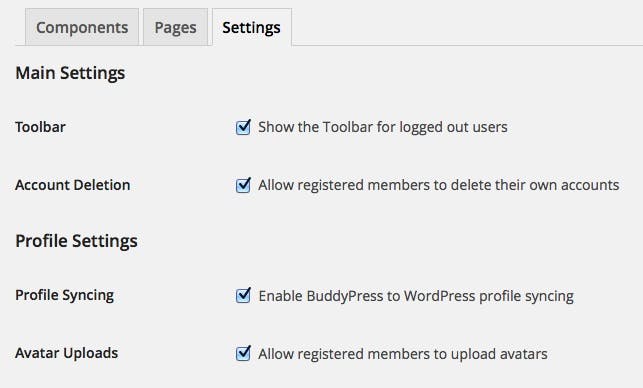
Settings
Finally, the Settings is the last tab. On this page, you can control very general aspects of the plugin.

Believe it or not, there are entire themes based around BuddyPress which you find here.
Sadly, we will not be able to cover the immense and powerful program in depth. The BuddyPress Codex should have you covered on the specifics of creating themes/pages. There are many extensions for BuddyPress including, but not limited to, BuddyPress Activity Plus by WPMU Dev. As far as news goes, WP Tavern has an entire category dedicated to BuddyPress which you can find by clicking the link below. Finally, if you would like to contribute to the BuddyPress project, head on over to Github!


