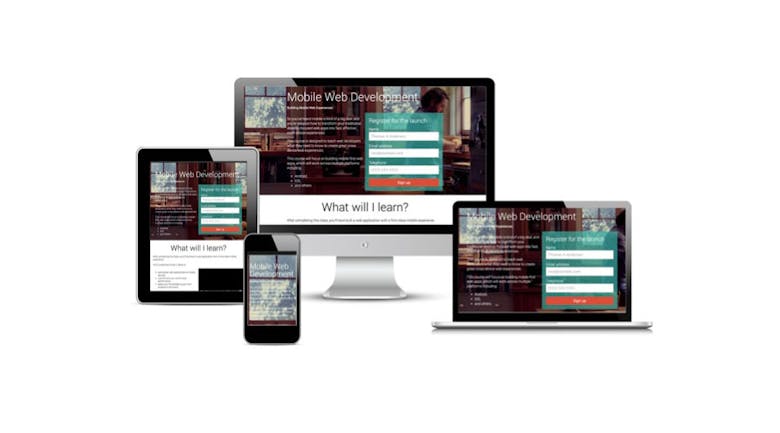
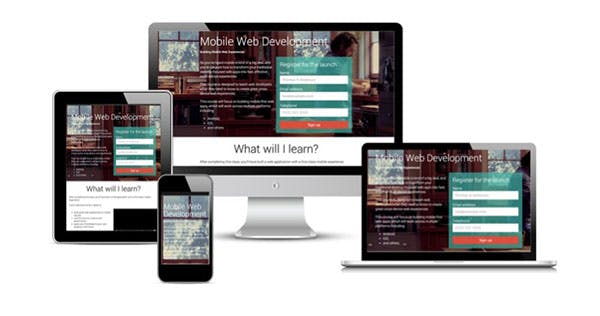
Last week, Google released their very own Web Starter Kit. This kit includes some of the best practices that you can find in modern web development. Let’s take a tour through the files and documentation and what you will need to get started. You can take a look at the main page by clicking here. It’s a good idea to look into the source code and see what some of the best web designers and developers have created. Thankfully, the documentation is excellent and the code is commented and easy to understand. If you cannot use it on one of your projects, you should at least see what you can take from it.
Overview

On this page, Google has listed the following features:
- Multi-Device Tools
- Multi-Device Layouts
- Forms and User Input
- Images, Audio and Video
- Optimizing Performance
- Device Access
The Web Kit keeps performance as a feature, which will definitely help your website’s SEO. Google’s kit also comes with forms and responsive grids.
Getting Started
Google has an excellent set of tutorials if you are new to HTML/CSS and responsive design. You can find them here:
- Create Your Content and Structure
- Make It Responsive
- Using images effectively
- Correct use of images in markup
- Image optimization
Documentation
You can find the following sections in the documentation.
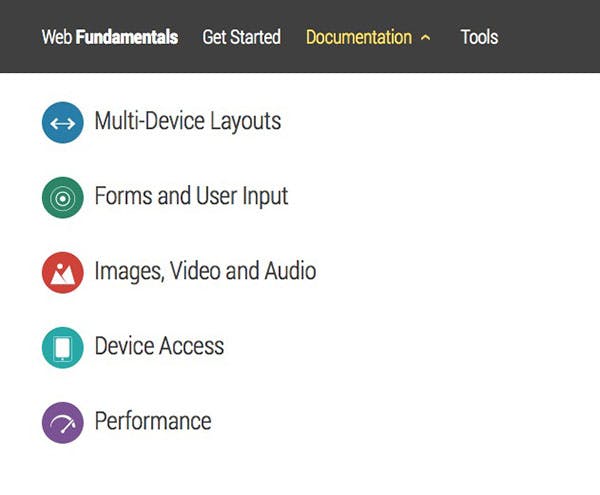
- Multi-Device Layouts
- Forms and User Input
- Images, Video and Audio
- Device Access
- Performance
Each section contains a wealth of information about each topic as well as links to other resources. If you would like to learn more about responsive design, then the Multi-Device Layouts would be perfect for you. You can learn how to build forms by reading the Forms and User Input page. Images, Video and Audio details multi-media on the website. Device Access explains how to properly handle multimedia on your site. Finally, the Performance documentation is all about the speed of your site and search engine optimization.
Tools
In the Tools section, there are three major sections:
- Set Up Environment
- Build Your Site
- Types of Testing
Cloning the Web Starter Kit
The first step is to clone the repository using the following command:
git clone https://github.com/google/web-starter-kit.git
After, you will need to use the following command to change into the folder
cd web-starter-kit/app
You will need to have the following tools in order to build your project:
- Node
- Ruby
- Gulp
- Sass Gem
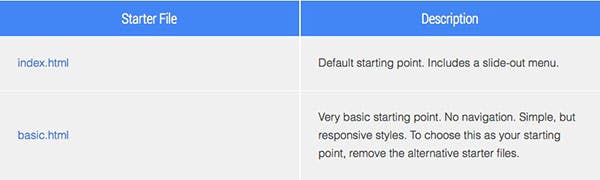
Then you can choose from two different layouts: index.html or basic.html. Here are the differences between the two:
To install Gulp, you can read our blog post, or you can follow the directions found on the documentation page
here.
Building the Project
After globallly installing Gulp, run the following command:
cd web-starter-kit
Then:
npm install
This should install all the dependencies and will create a folder named node_modules in the root directory with all of the gulp modules and plugins. Next, run gulp in the root directory:
cd ..
Then:
gulp
Running the gulp command will create a ‘dist’ folder in the root.
Inside the Template Folder
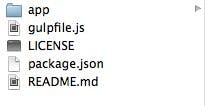
Let’s take a look at what’s inside the Web Starter kit.
As you can see, there is a gulpfile.js and package.json file included. You can also take a look at the README.md file to read the installation instructions.
Let’s take a look at what’s inside the app folder:
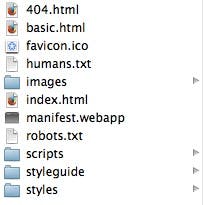
- images = JPG, SVG, PNG, GIF files
- scripts = Javascript files will go in here
- styles = CSS files go in here
The styleguide folder contains an HTML file that, with Code Snippets toggled on, can show you how to use the components included in the HTML/CSS files.
The Code
With that said, let’s take a look at some of the code. Let’s check out index.html found within the app folder:
<!doctype html>
<html>
<head>
<meta charset="utf-8">
<meta name="description" content="A front-end template that helps you build fast, modern mobile web apps.">
<meta name="viewport" content="width=device-width, initial-scale=1, minimal-ui">
<title>Web Starter Kit</title>

<!-- Add to homescreen for Chrome on Android -->
<meta name="mobile-web-app-capable" content="yes">

<!-- iOS icons -->
<link rel="apple-touch-icon-precomposed" sizes="144x144" href="images/touch/apple-touch-icon-144x144-precomposed.png">
<link rel="apple-touch-icon-precomposed" sizes="114x114" href="images/touch/apple-touch-icon-114x114-precomposed.png">
<link rel="apple-touch-icon-precomposed" sizes="72x72" href="images/touch/apple-touch-icon-72x72-precomposed.png">
<link rel="apple-touch-icon-precomposed" href="images/touch/apple-touch-icon-57x57-precomposed.png">

<!-- Tile icon for Win8 (144x144 + tile color) -->
<meta name="msapplication-TileImage" content="images/touch/ms-touch-icon-144x144-precomposed.png">
<meta name="msapplication-TileColor" content="#3372DF">

<!-- Generic Icon -->
<link rel="shortcut icon" href="images/touch/touch-icon-57x57.png">

<!-- SEO: If mobile URL is different from desktop URL, add a canonical link to the desktop page https://developers.google.com/webmasters/smartphone-sites/feature-phones -->
<!--
<link rel="canonical" href="http://www.example.com/">
-->

<!-- Chrome Add to Homescreen -->
<link rel="shortcut icon" sizes="196x196" href="images/touch/touch-icon-196x196.png">

<!-- For iOS web apps. Delete if not needed. https://github.com/h5bp/mobile-boilerplate/issues/94 -->
<!--
<meta name="apple-mobile-web-app-capable" content="yes">
<meta name="apple-mobile-web-app-status-bar-style" content="black">
<meta name="apple-mobile-web-app-title" content="">
-->

<!-- build:css styles/components/main.min.css -->
<link rel="stylesheet" href="styles/h5bp.css">
<link rel="stylesheet" href="styles/components/components.css">
<link rel="stylesheet" href="styles/main.css">
<!-- endbuild -->
</head>
<body>
<header class="app-bar promote-layer">
<div class="app-bar-container">
<button class="menu"><img src="images/hamburger.svg"></button>
<h1 class="logo">Web Starter Kit</h1>
<section class="app-bar-actions">
<!-- Put App Bar Buttons Here -->
</section>
</div>
</header>

<nav class="navdrawer-container promote-layer">
<h4>Navigation</h4>
<ul>
<li><a href="#hello">Hello</a></li>
<li><a href="#get-started">Get Started</a></li>
<li><a href="styleguide/index.html">Style Guide</a></li>
</ul>
</nav>

<main>
<h1 id="hello">Hello!</h1>
<p>Welcome to Web Starter Kit.</p>

<h2 id="get-started">Get Started.</h2>
<p>Read how to <a href="http://developers.google.com/web/starter-kit">Get Started</a> or check out the <a href="styleguide/index.html">Style Guide</a>.</p>
</main>

<!-- build:js scripts/main.min.js -->
<script src="scripts/main.js"></script>
<!-- endbuild -->

<!-- Google Analytics: change UA-XXXXX-X to be your site's ID. -->
<script>
(function(b,o,i,l,e,r){b.GoogleAnalyticsObject=l;b[l]||(b[l]=
function(){(b[l].q=b[l].q||[]).push(arguments)});b[l].l=+new Date;
e=o.createElement(i);r=o.getElementsByTagName(i)[0];
e.src='//www.google-analytics.com/analytics.js';
r.parentNode.insertBefore(e,r)}(window,document,'script','ga'));
ga('create','UA-XXXXX-X');ga('send','pageview');
</script>
<!-- Built with love using Web Starter Kit -->
</body>
</html>
The code is fully documented and explained. You should take a look at some of the components that you can use and start building with the index.html file or the basic.html file. Whichever you prefer!
If you have any questions, please leave a comment below.