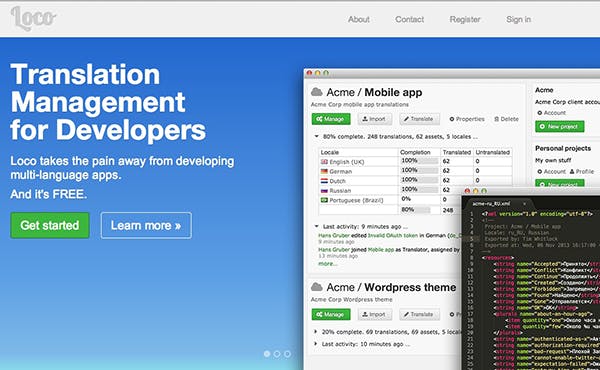
There are several services that you can use to translate your site but let’s take a look at the Loco web service and WordPress plugin. The great thing about Loco is that it is easy to use and has a great interface. In this post, I will be walking you through the service, the user interface, team and translation options.
Loco Web Service

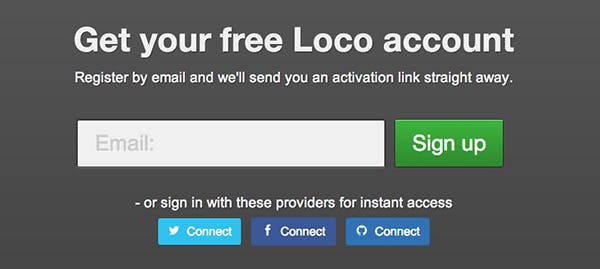
Loco’s web service allows you to import PO files, add members to your translation team and export the project later on. Loco is free and all you need to do is sign up for an account. You can sign up using your email address, your Twitter, Facebook or GitHub account.

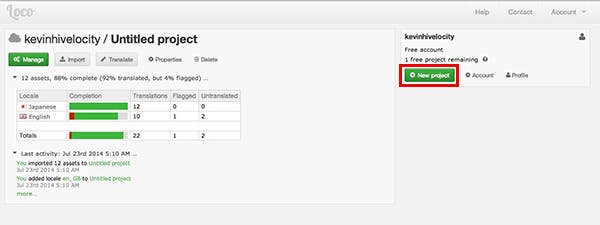
After signing up, you will be asked about about your username and source language information. After entering and saving the settings, you will be brought to the Project Management screen. Just click on the New Project button to begin.

Afterwards, this modal window will show up:
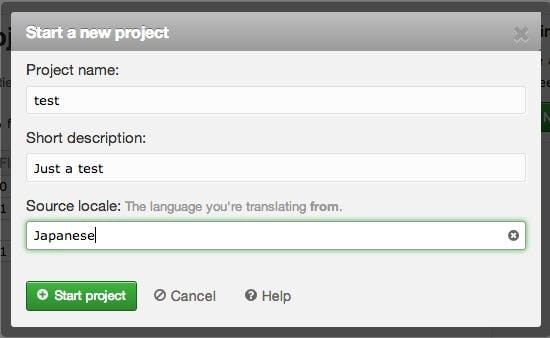

Just click on Start Project to begin.

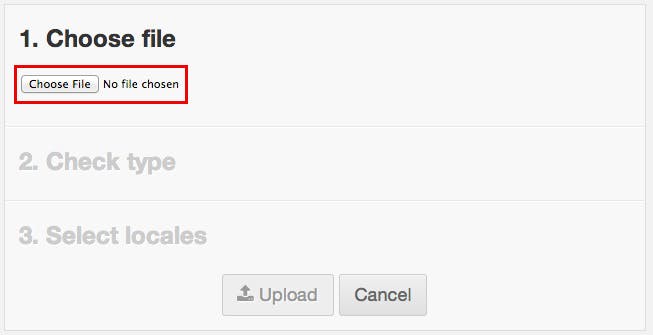
You can start your project by importing a PO file. Just click on the Choose File button:

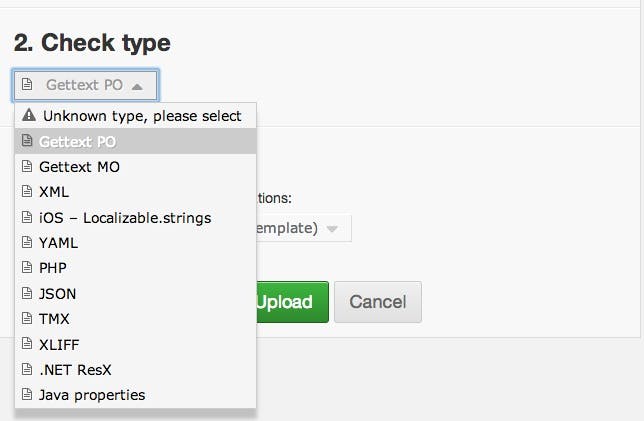
After importing your file, you will need to select your uploaded filetype:

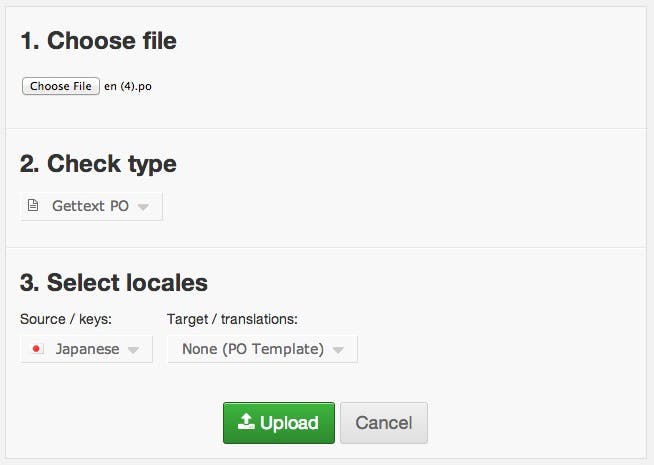
You can leave the third field blank. When finished, just click on the Upload button:

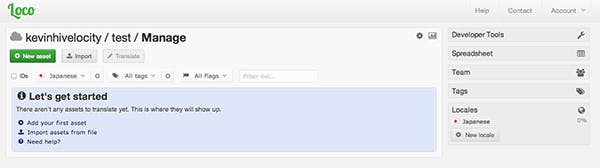
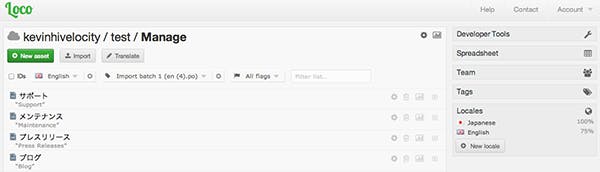
In a couple of seconds, you will be redirected to the Manage Translations screen:

The New Asset feature allows you to add new files to the project, for example, you can add videos or images. The Import screen allows you to import PO and/or MO files. The translate button brings you to a new page:
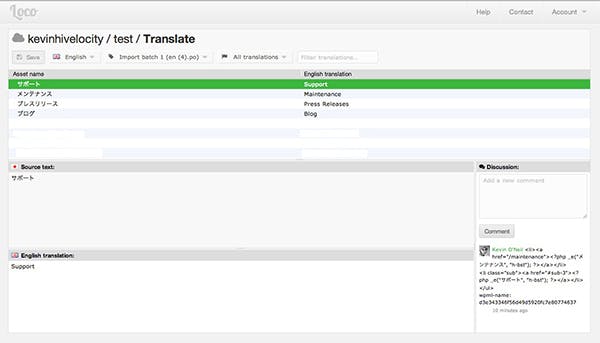

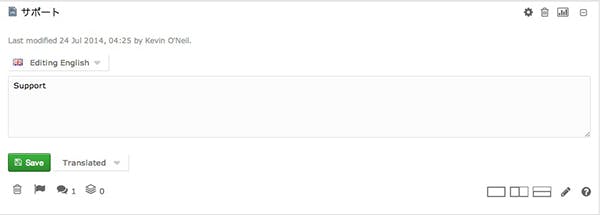
You can edit your translations and save them here. You, or other team members, can also leave comments on a translation. For now, let’s head back to the main screen.

The ‘ID’ checkbox will display a string of numbers representing the translation, while the select box next to it (Japanese) will display the current locale. Additionally, you can tag a translation or add sort them by using flags (Untranslated, Translated etc.) The search bar allows you to filter your translation list. Finally, you can adjust edit the project settings by clicking on the gear and check the progress of your translation by clicking on the button next to it.

Click on an individual label to add/edit a translation.

Make sure that you have to correct locale selected when editing your translation. Otherwise, you can head to the translation screen shown earlier. Now that we have taken a look at the toolbar, let’s check out the sidebar.
Developer Tools
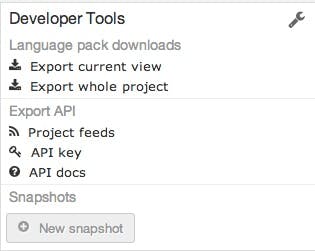

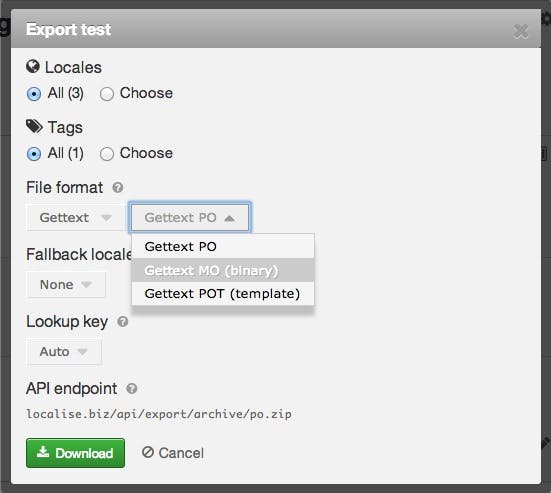
Using the Developer Tools, you can export your current view, project and API. When you are ready to export your PO/MO file, just click on the Export whole project option.

Stylesheet
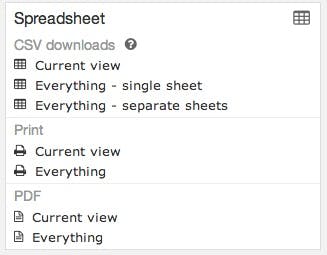

You can export, print and save your current translation as a spreadsheet. Not much to say here other than that.
Stylesheet


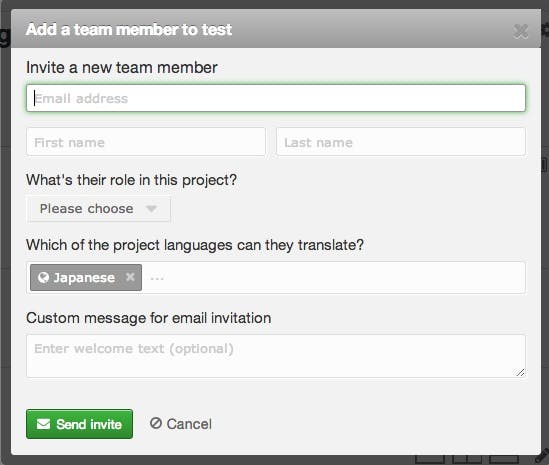
You can add and assign team members to your project.

Tags
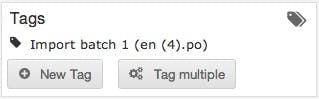

You can add a new tag or tag multiple items using this panel.
Locales
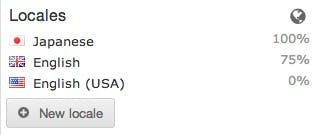

Finally, you can add Locales to your project. Now that you know how to use the Loco web service, I hope that it will help you with your project. Next time, we will take a look at the WordPress plugin. When, finished, just export the PO and/or MO files using the export panel shown earlier on. You can read the Help section for further information. If you have any questions, feel free to leave a comment below. Thanks for reading!